
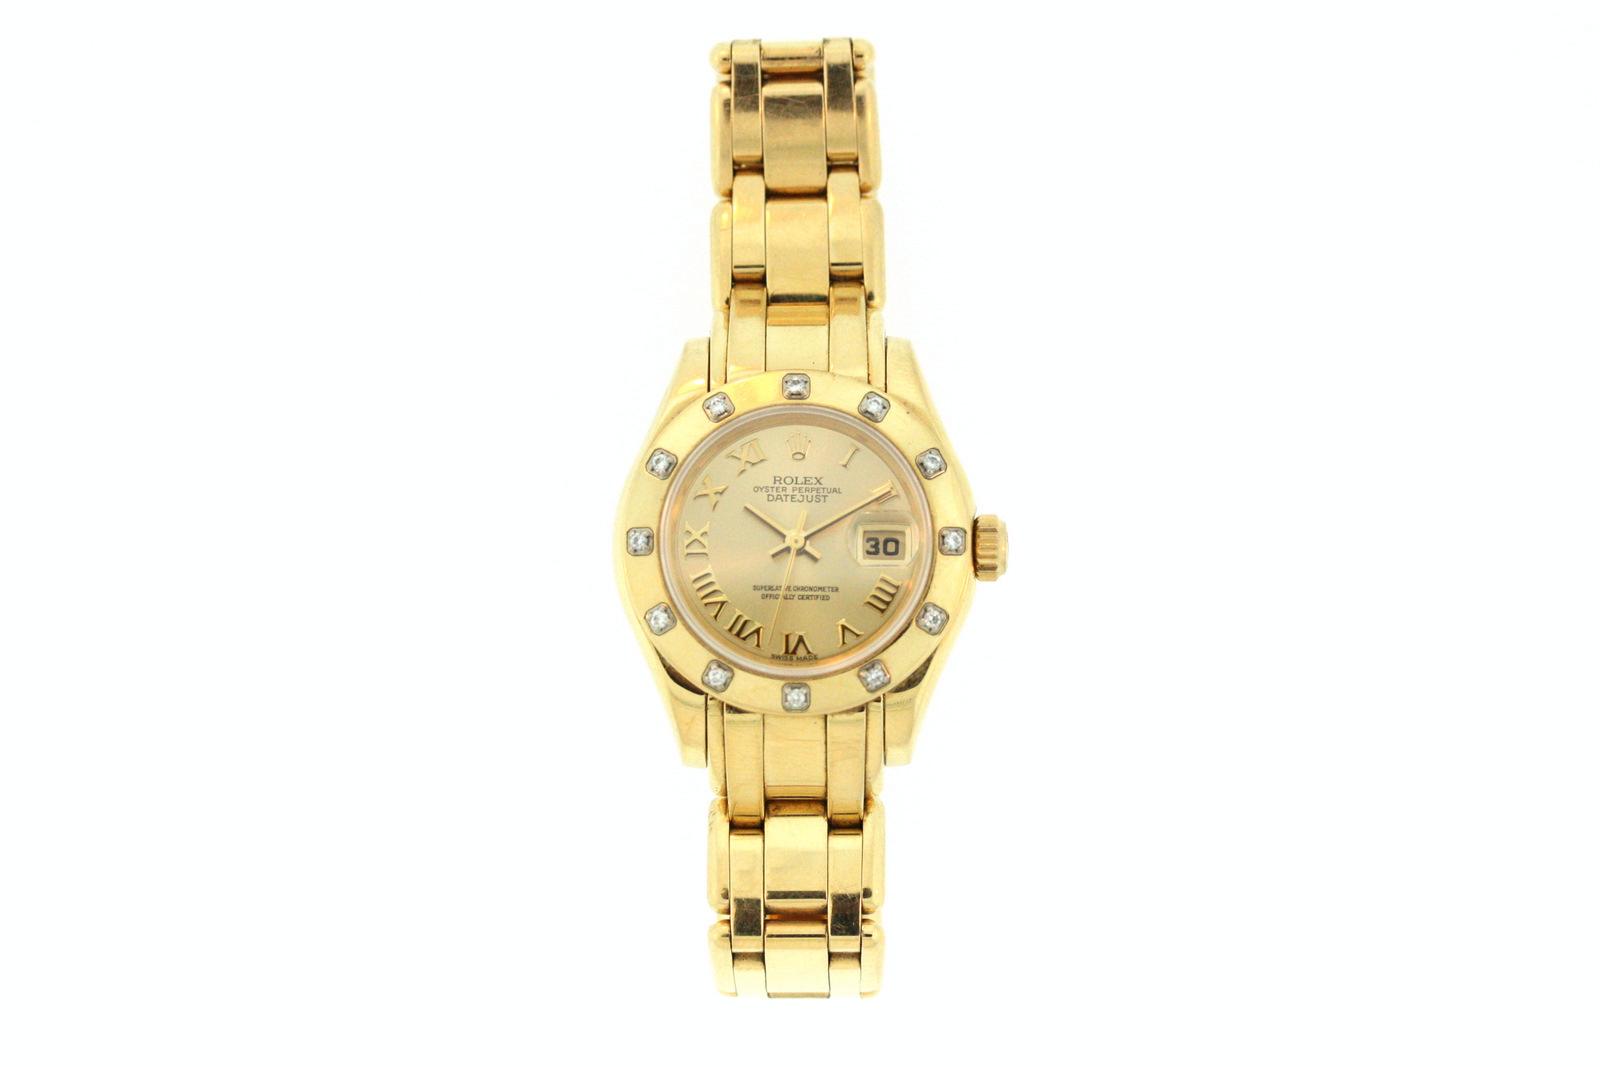
A ladies watchband keeps your timepiece strapped to your wrist and comes in various fashions, materials and locking mechanisms. Watchbands are connected to the timepiece by way of two spring bars each situated below and above the watch. The bands are able to pivot back and forth along the spring bar. The spring bars are very thin, but can be removed with a spring bar tool, should your band break and require replacing. Knowing how to change your own watchband will save you time and money.
Instructions
- 1Lay the watch down on a soft surface, such as a town or a cloth, so that it's less likely to be scratched.
- 2Place the spring bar tool fork between the inner watch casing and watch band (the piece that wraps around your wrist), so that either side of the fork is on either side of the spring bar (the piece that holds your watch band to your watch). The spring bar is expanded by a spring on both sides, like a telescoping antenna. Pry the spring bar away from the watch casing, until the spring bar pulls out of the watch-casing groove. With the spring bar pushed back, gently pull the watchband away from the casing. The band will come loose.
- 3Remove the spring bar from the inside of the watchband. Remove the watchband from the other side of the watch using the same process.
- 4Insert the spring bar into both ends of the new watchband. Lay your new watchbands out in accordance with how you would like to orient them on your watch casing.
- 5Gather one watchband and slip one end of the spring bar into one groove of the watch casing. Place the fork of your spring bar tool against the shoulder of the other end of the spring bar and squeeze it in. Move the watchband with the spring bar tool still compressing the spring bar completely into the casing. Gradually release the spring bar into the other watch casing groove. The spring bar will click into the groove. Pull your spring bar away. Give the watchband a tug to confirm that both ends of the spring bar are secure.
- 1

0 comments:
Post a Comment